글 수 93
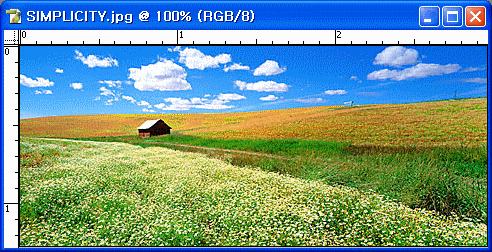
1.[File]-[Open]하여 배경이 될 이미지를 하나 불러오세요.
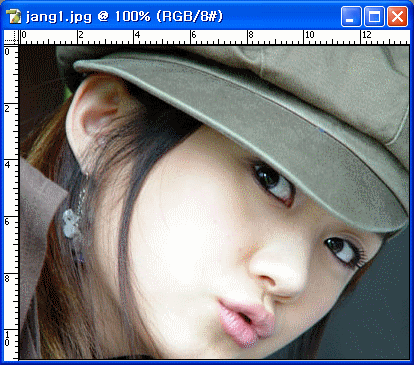
2.[File]-[Open]하여 합성시킬 이미지를 하나 더 불러오세요. 전 장나라로~
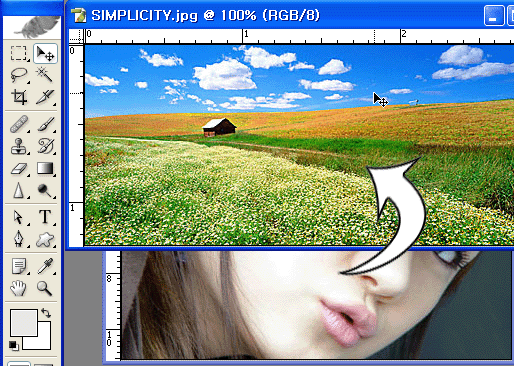
3.툴박스에서 이동툴을 선택하고, 장나라 사진을 끌어다가 배경이 될 이미지에 놓아주세요.
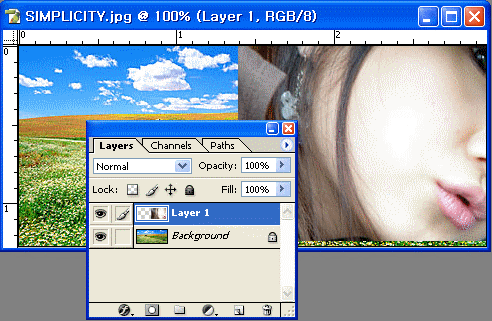
4.레이어 팔레트에 보면, layer1이라고 끌어다 놓은 레이어가 하나 생긴답니다.
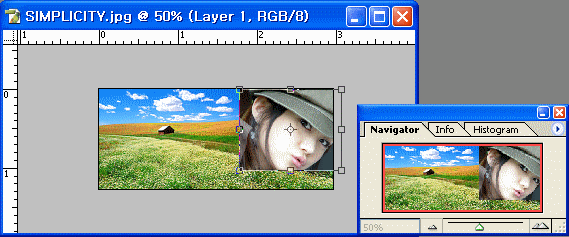
5. layer1이 선택된 상태에서 Ctrl+T를 눌러주면 사각박스가 생길꺼예요. Shift를 누르면서 대각선 끝을 더 작게 안쪽으로 끌어주세요. 알맞게 끌어주셔요~
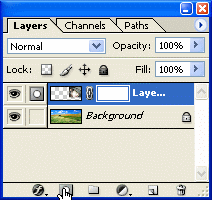
6.레이어 팔레트에서 layer1이 선택된 상태에서 레이어마스크를 하나 만들어줍니다.
7.툴박스에서 그라디언트툴을 선택하고, 옵션창에서 Foreground to Transparent를 선택해주고,
아래 그림과 같이 배경에서 이미지 쪽으로 끌어주세요. 그럼 서서히 합성되죠?
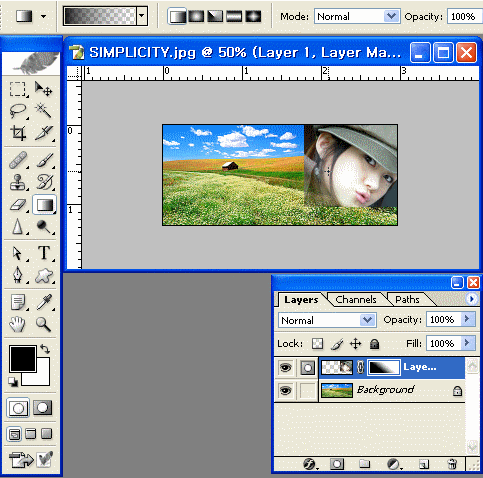
8. 그렇게 배경에서 이미지 쪽으로 왼쪽, 아래쪽, 대각선쪽으로 끌어주면 테두리가 연하게 합성이 된답니다.
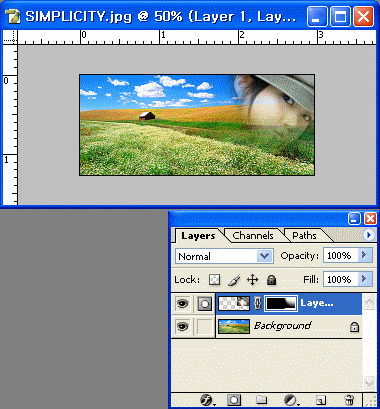
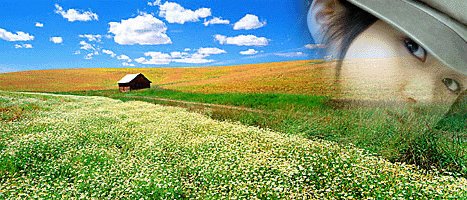
9. 완성된 이미지 입니다. 아주 쉽죠?
출처 : jtozero님의 블로그


